Quilt Kit Tutorial
Welcome to this little tutorial! I am going to show you how to make your own heirloom linen quilt with the kit available in my shop.


First, we assemble the quilt top.  You will notice that two sets of squares are slightly bigger than the other two. These bigger squares are the colours you are using to make your triangle blocks. They are a little bit bigger because you will lose some fabric in the seam allowance when you assemble them. After all the triangle blocks are sewn, the final block should be the same size as your remaining solid squares. This will become clearer once you've done the first few steps.
  Take one of each colour of the larger squares and place them on top of one another. Trace a line down the diagonal with a piece of dressmakers chalk (a sharpened edge of a soap bar can work too).
 Stitch along both sides of the chalk line, with a narrow seam allowance of approximately 1/4".
 I use the sewing machine foot's width as a guide.
 Cut along the chalk line.
 Press open your triangle pieces with a steam iron. Now you have completed two blocks!
 Work your way through your stack until all your triangle blocks are complete.
 Assemble one row of 12 blocks at a time. Press the seams open once you've sewn the 12 pieces together.
I am alternating between triangle blocks and solid square blocks. I am also flipping the triangle block after every solid squae block. Make sure you pay attention to your pattern as you go, assuring the triangle blocks are facing the right way, etc.
You will notice that the second row begins with the 2nd block of your first row, and so forth. One way to quickly make sure your pattern is developing properly is to look at the diagonal. The diagonal should be all the same colour/block. Continue until you have assembled all 12 rows.
 Assemble the quilt top row by row, doing your best to line up the seams (1/2" seam allowance).
 Continue until the entire quilt top is complete. Give it a good pressing.
 The back of your quilt should look relatively neat with the seams pressed open flat. If you have any bulky seam allowances, feel free to trim them a little bit.
 Align your three layers on top of each other. The batting is sandwiched between the quilt top and backing.
 Pin all three layers in place. Make sure it is secure. I pin through every other block. You can use dressmakers pins or safety pins.
 I am going to hand stitch diagonally through each block from one end of the quilt to the other. Trace your quilting line with dressmakers chalk and a ruler.
 With cotton yarn and an embroidery needle, stitch along your chalk lines. I do quite a big stitch, with 2-3 stitches per inch. I don't mind it being a little bit irregular as I find this to add charm to a handmade quilt, but this part is entirely up to you.
I like to stitch from one corner to the end with a continuous long piece of yarn. I make a knot at the very beginning and end, very close to the edge. The binding will hide all the knots and keep them securely in place.
Make sure you catch all 3 layers of fabric in every stitch. Stack your stitches on your needle to increase your speed.
 Continue until your entire quilt is stitched.
 Back at the sewing machine, stitch around the edge of your quilt, as close to the edge as possible, making sure you are catching all 3 layers.
 Trim up to 1/4" from your stitch all around, and remove all your pins.
 The final step is the binding. The binding acts as a frame for your quilt.
Fold and press your binding strips halfway lengthwise. Place the raw edges of the binding strip along the edge of your quilt and stitch with 1/2" seam allowance.
I like to do the two vertical edges first.
 Press the binding flat from the top side of your quilt.
 Now do the same with the horizontal edges of your quilt, stitching from binding edge to binding edge.
 Trim the ends and press the binding flat.
 With your quilt facing down, fold the edges of the binding over to hide the seam allowance, and pin it in place all around.
 The corners can be a little tricky, sometimes I trim a little bit of excess fabric off and then I try my best to tuck the corner in neatly, pinning it in place.
 With a sewing needle and regular sewing machine thread that matches your binding, hand stitch tightly and as close to the binding edge as possible. Secure the binding all the way around the quilt.
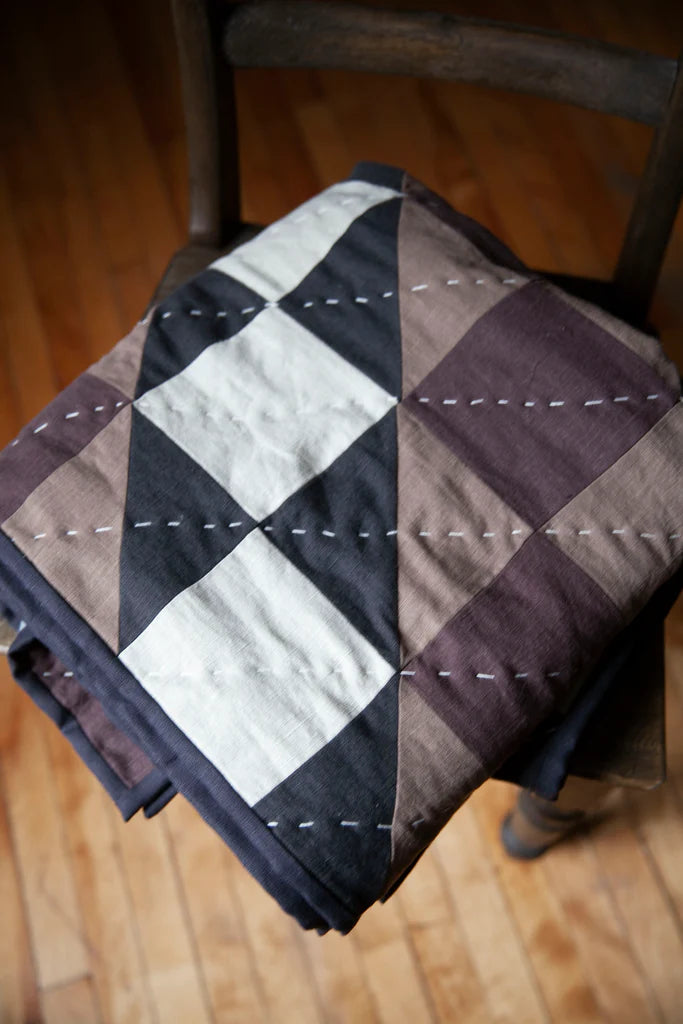
 Enjoy your lovely handmade quilt!


